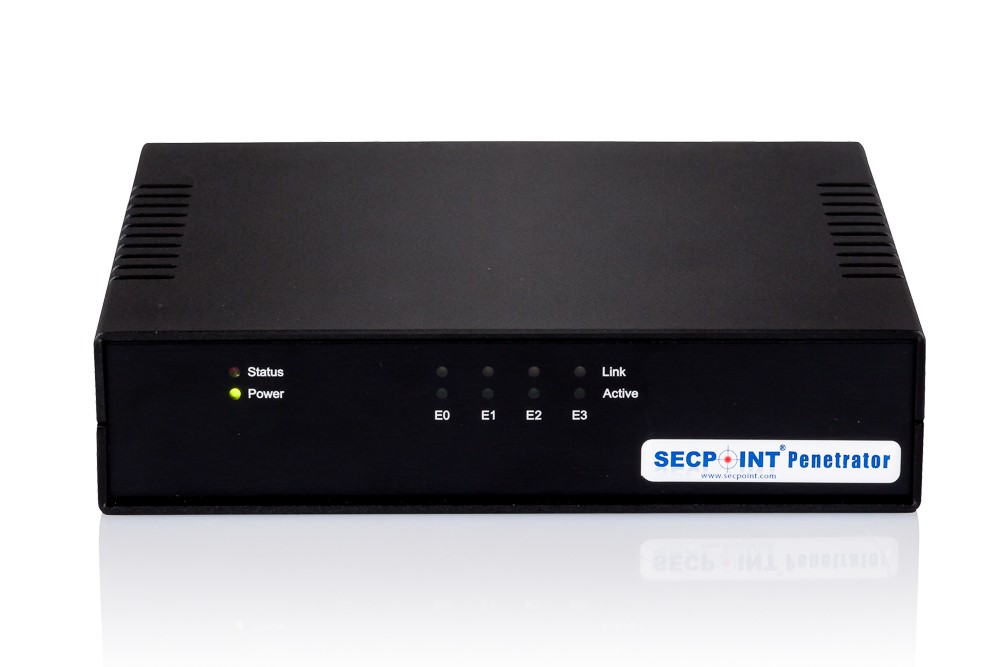
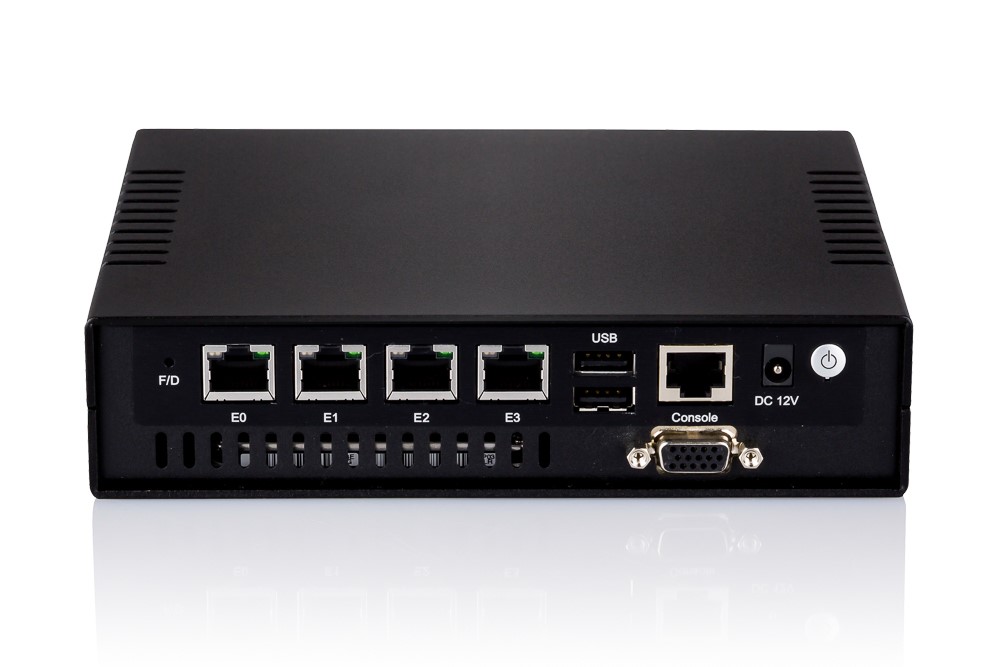
1. Penetrator Network Connection.
Penetrator Appliance
Port E0 is Lan. (Port to the left)
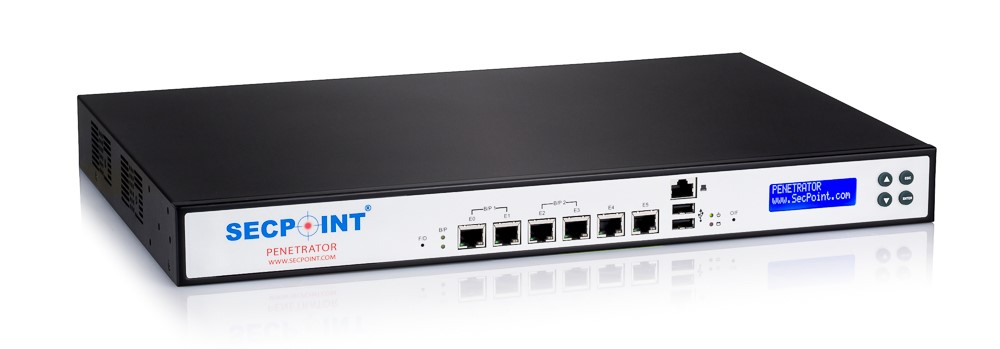
Penetrator S9 SFF (Back Side):
Port A is Lan. (Port in the lower middle)
|
|
|
2. Penetrator Power Connection
Penetrator S9 has the power plug and button on the back side.
Please connect the power cable and power it on.
It is highly recommended to always have a backup power UPS device powering the unit!
3. The web interface of the Penetrator
The Penetrator is born with the IP address of 192.168.1.2 subnet mask 255.255.255.0 gateway 192.168.1.1 Name server (DNS) 192.168.1.1 that will fit most networks.
For this connection please point your web browser to https://192.168.1.2/
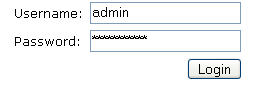
Please login at the login screen with the password on the welcome letter.
4. Quick Setup Wizard
After you login please click Quick Setup Wizard in right top.
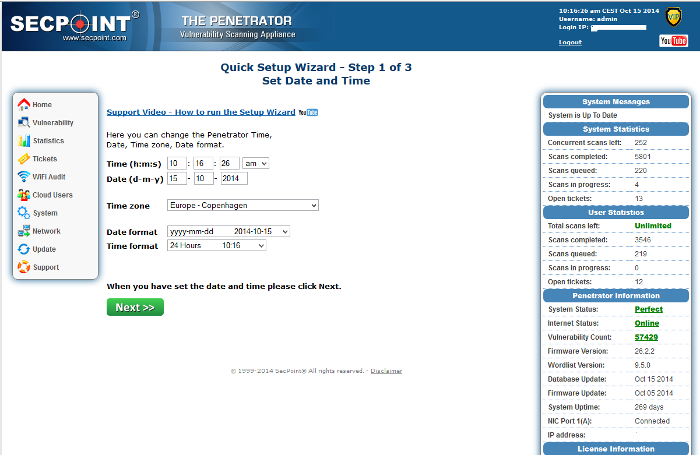
5. Step 1 of 3 – Change Date and Time
Please set your Time, Date, Time Zone and click Next
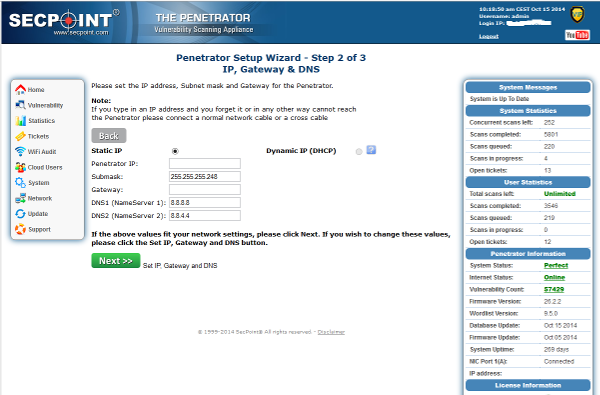
6. Step 2 of 3 – IP, Gateway and DNS
Please setup the IP address, Subnet, Gateway and DNS that fits to your network setup and click Next. Please choose an IP address that is freely available on your network and not occupied by another system.
Please note that the values on the screenshots are for demonstration only, you have to change them to suit your network configuration.
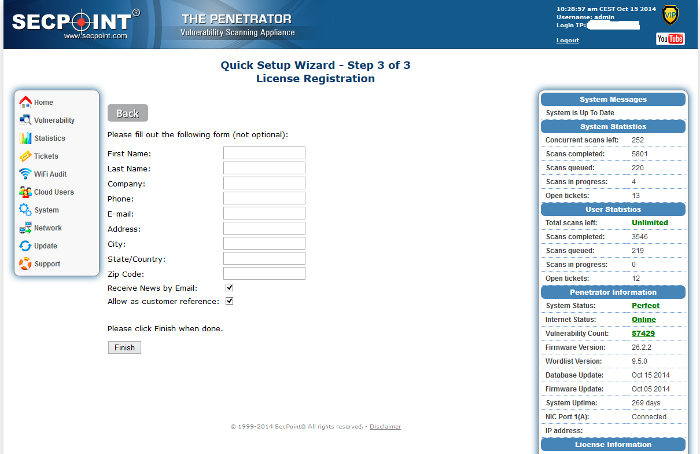
7. Step 5 of 5 – System registration
Please register your product here.